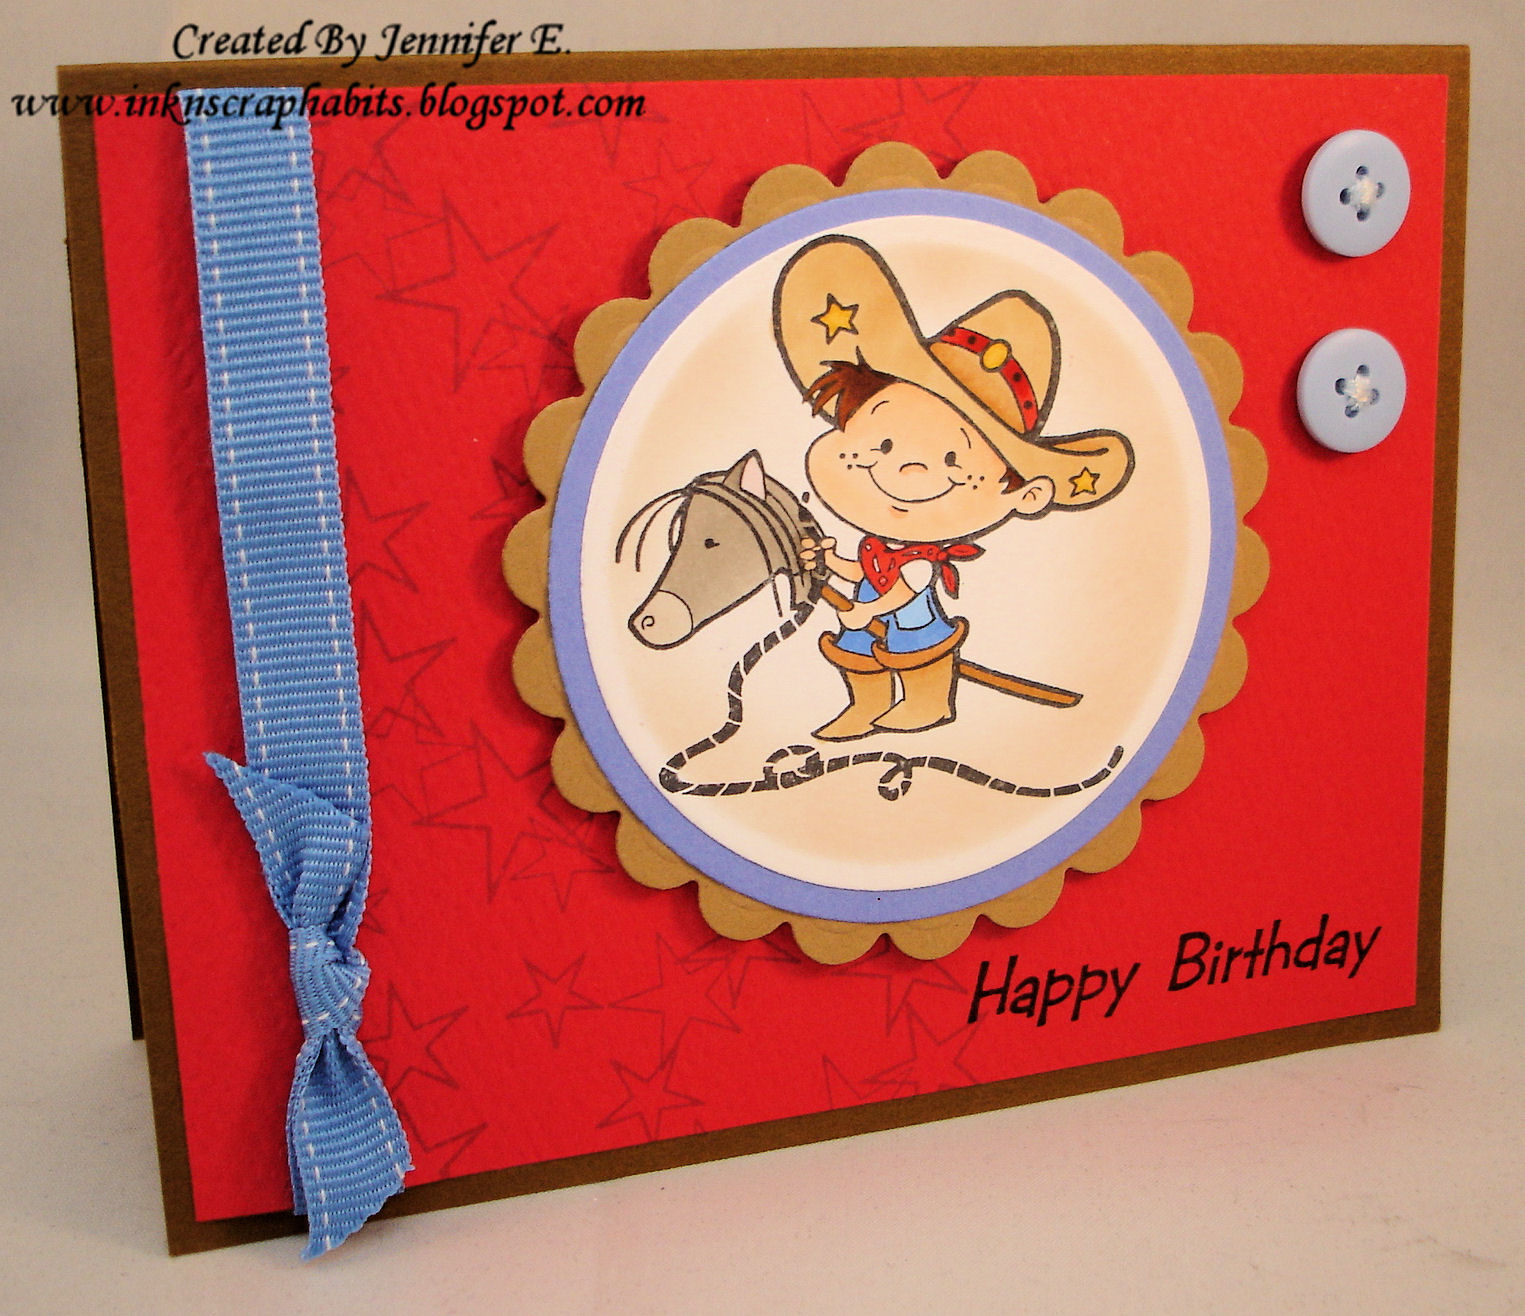
I started first by coloring the image with Copic Markers and then I sponged light brown ink around it while it was in a circle Nestability die. I layered it as shown and next I decorated the red cardstock for my card front. I stamped the Interlocking Star Background (819H) on the left hand side with blue ink and I used one of the greetings from the Birthday Multi Greeting (219P) for the sentiment. I adhered the image in the center of the card front using foam tape. I added some ribbon to the far left side and a couple buttons on the upper right side. Finally, I adhered the card front to an A2 brown cardstock base. Cute and fun, wouldn't you say?
Welcome to Ink N Scrap Habits!
Friday, January 18, 2013
Birthday Cowboy
I started first by coloring the image with Copic Markers and then I sponged light brown ink around it while it was in a circle Nestability die. I layered it as shown and next I decorated the red cardstock for my card front. I stamped the Interlocking Star Background (819H) on the left hand side with blue ink and I used one of the greetings from the Birthday Multi Greeting (219P) for the sentiment. I adhered the image in the center of the card front using foam tape. I added some ribbon to the far left side and a couple buttons on the upper right side. Finally, I adhered the card front to an A2 brown cardstock base. Cute and fun, wouldn't you say?
Tuesday, May 10, 2011
Yee-Haw! I've Been Published!
The card front was simply made from teal cardstock. I adhered the matted image on an angle to the center of the card front and stamped the In The Accessories Greeting (155D) on an angle as well just above it. I embellished the lower right and the lower left sides of the card front with brown petite brads as shown.
The star embellishment was actually created using the Star Ribbon Slide (963D). I heat embossed it with teal embossing powder and then after cutting it out, I tied the brown and white polka dot ribbon thru it. I matted it on a brown scalloped Nestie circle and then adhered it to the upper right portion of the stamped image. The card front was then adhered to a brown A2 sized cardstock base.
Really like this card? Then you might also like this other Country Western card I made with some of the same stamps, but in red and brown. You can see it HERE.
Sunday, July 25, 2010
Howdy!
I'm back again today to share with you another card I made for DRS Designs sketch challenge that is currently underway.
Thanks for visiting today!
Thursday, December 4, 2008
Howdy Cowboys!

This card also features one of the new Ribbon Slides just released. (You can see all of the DRS Designs new releases by clicking here.) The square illusion of this ribbon slide reminds me of a belt buckle--not the typical kind of belt buckles cowboys wear, but I think it's fitting for this card, Don't you?


I distressed the edges around the cowboys to give it a smoky feel. Hey, maybe they're riding along the Great Smokey Mountains!
Stamps: DRS Designs- Square Illusion Ribbon Slide, Cowboy Silhouette
Ink: Versafine Onyx Black, Colorbox Fluid Chalk Ink in Charcoal
Paper: Smooth white cardstock by Office Depot, Colored Cardstock by The Paper Company,
Accessories: Cuttlebug and Traffic Jam Embossing Folder, Ribbon by Bobbie M. Designs, SU! Notched Corner Punch, Hero Arts Gem Stones
Finished Card Size: approx. 5" x 7" (Sorry for the approximation here. I forgot to measure it before I shipped this card off in a package to DRS Designs. It was a large car though, as the Cowboy Silhouette image measures 3.25" x 3" itself.)
Thanks for stopping by today. I appreciate your visit!
See Ya'll tomorrow!
Smiles,
Jennifer