Thanks to all of you who subscribe to my blog, my daily readers, and to those of you who comment often. I appreciate your visits and love what you have to say about my cards! I was recently asked to show how I create the white frame around the images I use after posting my Thanksgiving card the other day. I decided to create a tutorial so that I could show a step-by-step demonstration. Enjoy!
Step 1: After stamping and coloring image, trim excess cardstock around it.

Step 2: Stamp image on Post-It Note and cut out to create image mask.

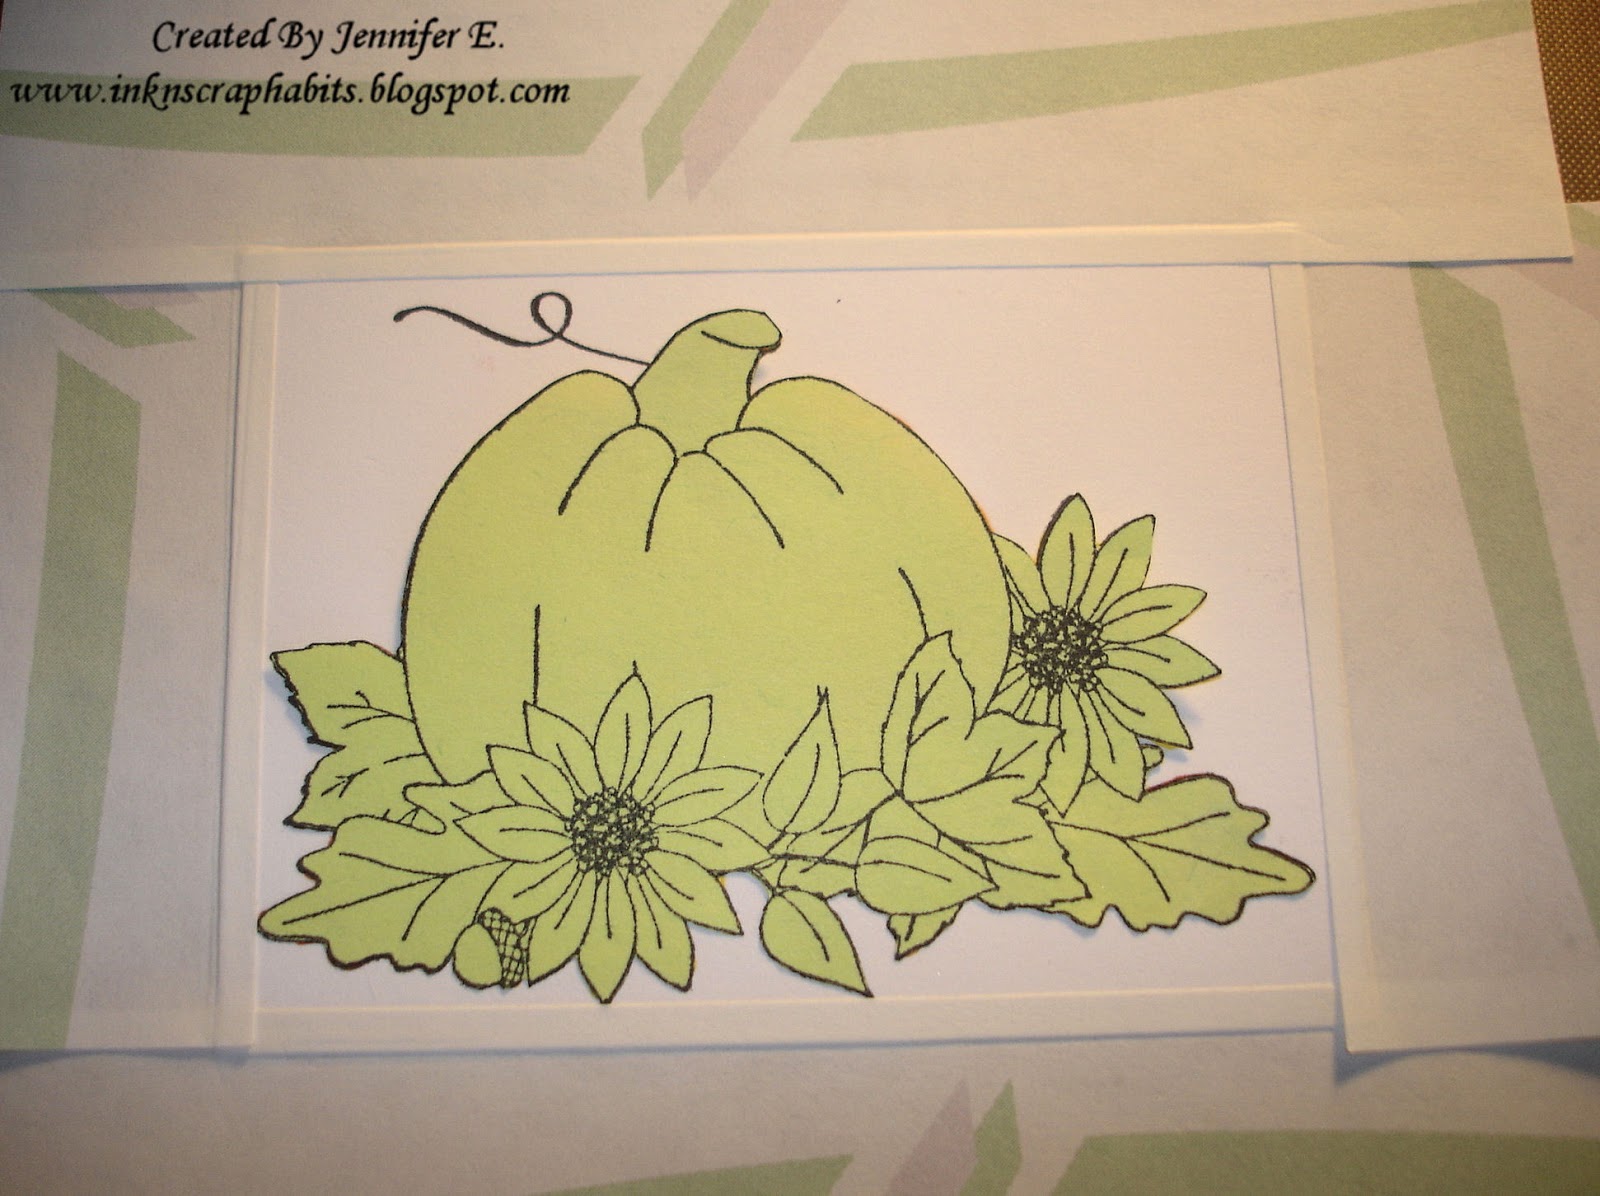
Step 3: Use Post-It Notes to mask off edges around image.

Step 4: Sponge area around image with ink to match the theme of your project.

Step 5: Remove Post-It Notes around the outer edges.

Step 6: Use finished image to complete your project!

Step 2: Stamp image on Post-It Note and cut out to create image mask.

Step 3: Use Post-It Notes to mask off edges around image.
Step 4: Sponge area around image with ink to match the theme of your project.

Step 5: Remove Post-It Notes around the outer edges.

Step 6: Use finished image to complete your project!

Happy Stamping!
Smiles,
Jennifer
Thanks for the great, easy to understand tutorial! I never thought to mask the focal image - duh! And your sponging always comes out so smooth and perfect, I'm a wee bit jealous!
ReplyDelete